
We’ve all been there. You’re trying to get cosy, but one of your radiators is stubbornly cold at the top while the bottom is piping hot. It’s a classic sign that trapped air is getting in the way of your warmth. Knowing how to bleed a radiator at home is one of the most useful DIY skills you can have. It’s a simple fix that makes your home more comfortable, your heating more efficient, and can even help trim down those energy bills.
Why Your Radiators Have Cold Spots and How to Fix Them
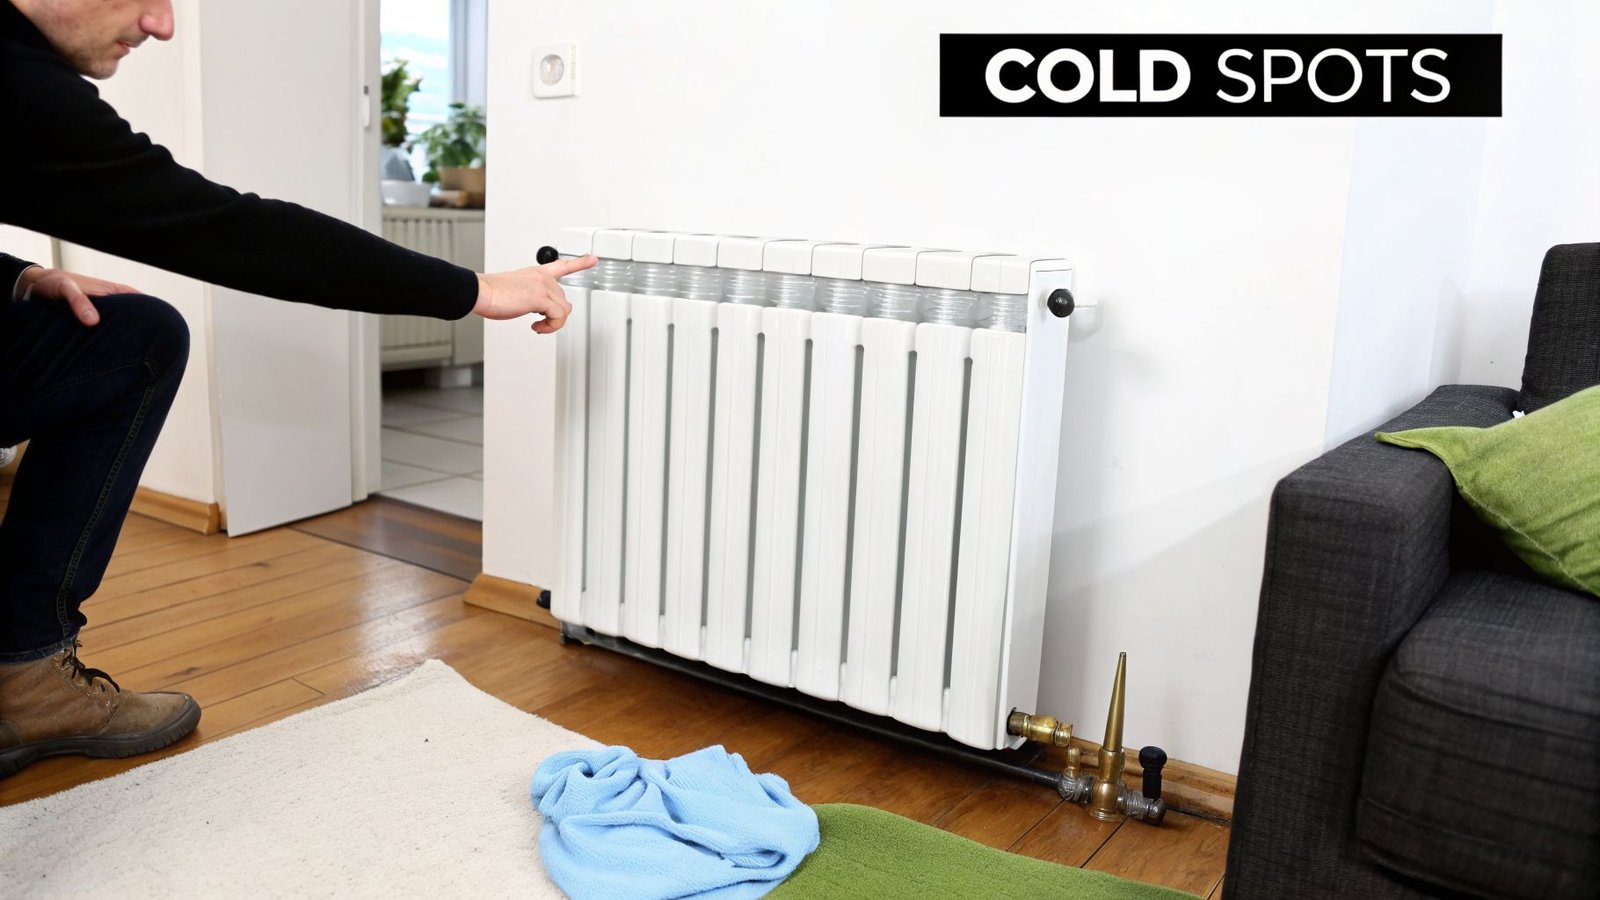
That cold patch at the top of your radiator isn’t just a quirk; it’s a symptom. Over time, tiny amounts of air find their way into the central heating system. Because air is lighter than water, it rises and gets trapped, forming an air pocket at the top of your radiators.
This trapped air effectively creates a blockage. It stops the hot water from circulating properly and reaching every part of the radiator, leaving you with those frustrating cold spots.
Telltale Signs of Trapped Air
Your heating system is usually pretty good at telling you something's wrong. If you hear strange gurgling, bubbling, or trickling sounds coming from your pipes and radiators when the heating kicks in, that’s your first major clue. It’s the sound of air and water clashing inside the system.
A few other dead giveaways include:
- The Hot Bottom, Cold Top: This is the most common sign. If the bottom half of the radiator is warm but the top is cool to the touch, air is almost certainly the culprit.
- Slow to Warm Up: Do some radiators take an age to get going compared to others? This often points to an airlock slowing things down.
- A Completely Cold Radiator: While less frequent, a significant airlock can sometimes prevent a radiator from heating up at all, even when the rest of your system is working perfectly.
Expert Insight: If you have the opposite problem—a radiator that's cold at the bottom but hot at the top—you’re likely dealing with sludge. This is a build-up of rust and debris that sinks and settles over time. Bleeding won't fix this; it usually requires a professional power flush.
The Benefits of Taking Action
Ignoring these signs won't make them go away. In fact, it just means your boiler has to work harder and longer to heat your home, pushing up your energy consumption and your bills.
Learning to bleed a radiator is a five-minute job that pays you back all winter. It makes your heating system run more efficiently, ensures you’re not wasting money, and puts you in control of your home’s comfort. Getting to grips with your heating also means understanding the heart of the system. You can learn more by figuring out what type of boiler you have.
Right, before we get to the business end of bleeding a radiator, let’s get our ducks in a row. A bit of prep now will save you from a world of frantic floor-mopping later. Trust me, it’s the secret to getting this done quickly and cleanly.
We’re not talking about a huge, professional toolkit here. Just a few bits and bobs will do the trick.
Radiator Bleeding Toolkit and Safety Essentials
Here’s a quick rundown of what you’ll need to grab and what to check before you even think about touching that valve. Think of this as your pre-flight checklist for a warmer home.
| Item/Check | Purpose | Expert Tip |
|---|---|---|
| Radiator Bleed Key | To open and close the bleed valve. | A proper key gives you far better control than fumbling with pliers. Some newer radiators might use a screwdriver, but a dedicated key is always the best tool for the job. |
| Old Cloth or Rag | To catch any drips and protect your flooring. | The water that comes out is often a grubby black colour. You definitely don’t want that on your cream carpet. Have a thick cloth ready to wrap around the valve. |
| Jug or Small Bowl | To catch the water as the air escapes. | This contains the mess. A small yoghurt pot or a mug works just as well if you don't have a small jug handy. |
| Turn Heating Off | A critical safety step to prevent burns. | Water in a live central heating system is scalding hot. Always, always turn it off at the main control. |
| Let System Cool | Ensures the water is at a safe temperature. | Give it a good hour to cool down completely. Trying to bleed a hot radiator is a recipe for burns from either hot water or steam. Don't risk it. |
| Check Boiler Pressure | To know your starting point before you release pressure. | Look at the gauge on your boiler. It should be in the 'green zone', typically between 1 and 1.5 bar when cold. |
Getting these simple items together is the first step, but the safety checks are what really count. Let's dig into those a bit more.
Prioritising Safety Before You Begin
This is the most important part, so please don't skip it. The first thing you absolutely must do is turn your central heating off completely. If the system is running, the pump could actually pull more air in while you’re trying to let it out, and the water will be dangerously hot.
Once it's off, go and make a cup of tea. Seriously. You need to let the radiators cool down properly, which can take an hour or so. Patience here prevents painful burns.
It’s surprising how many people neglect this simple task. A 2023 survey revealed that a staggering 24% of UK homeowners hadn't bled their radiators in over a year, which is a major cause of heating inefficiency. You can see the full report on how neglected radiators affect UK homes on british-utilities.co.uk.
Crucial Safety Note: This preparation isn't just about avoiding a mess. It's about personal safety and protecting your heating system. Never rush these initial checks.
Checking Your Boiler Pressure
Last but not least, pop over to your boiler and have a look at the pressure gauge. Before you start, with the system cold, you want to see the needle sitting somewhere between 1 and 1.5 bar. Most gauges have a helpful green section to show you the sweet spot.
Why does this matter? Because bleeding radiators releases air and a bit of water, which causes the system's pressure to drop. Knowing your starting pressure helps you figure out if you need to top it up again afterwards.
It’s also a good time to be mindful of your boiler's general health. If you ever have concerns, it's worth knowing what to do if you suspect a boiler is producing carbon monoxide.
With those checks done, you're all set to tackle those chilly radiators.
Okay, with your tools gathered and the heating off, it’s time to get started. Learning how to properly bleed a radiator isn't just a useful bit of DIY; it puts you in direct control of how warm and efficient your home is. Let's walk through it, step-by-step, without any confusing jargon.
Your first job is to find the bleed valve on the radiator you're working on. It’s almost always at one of the top corners – a small, round metal fitting with a square pin in the middle. Some designer or more modern radiators might have a slot for a flat-head screwdriver instead, but the principle is the same.
Before you touch a thing, it’s worth recapping those crucial safety checks.
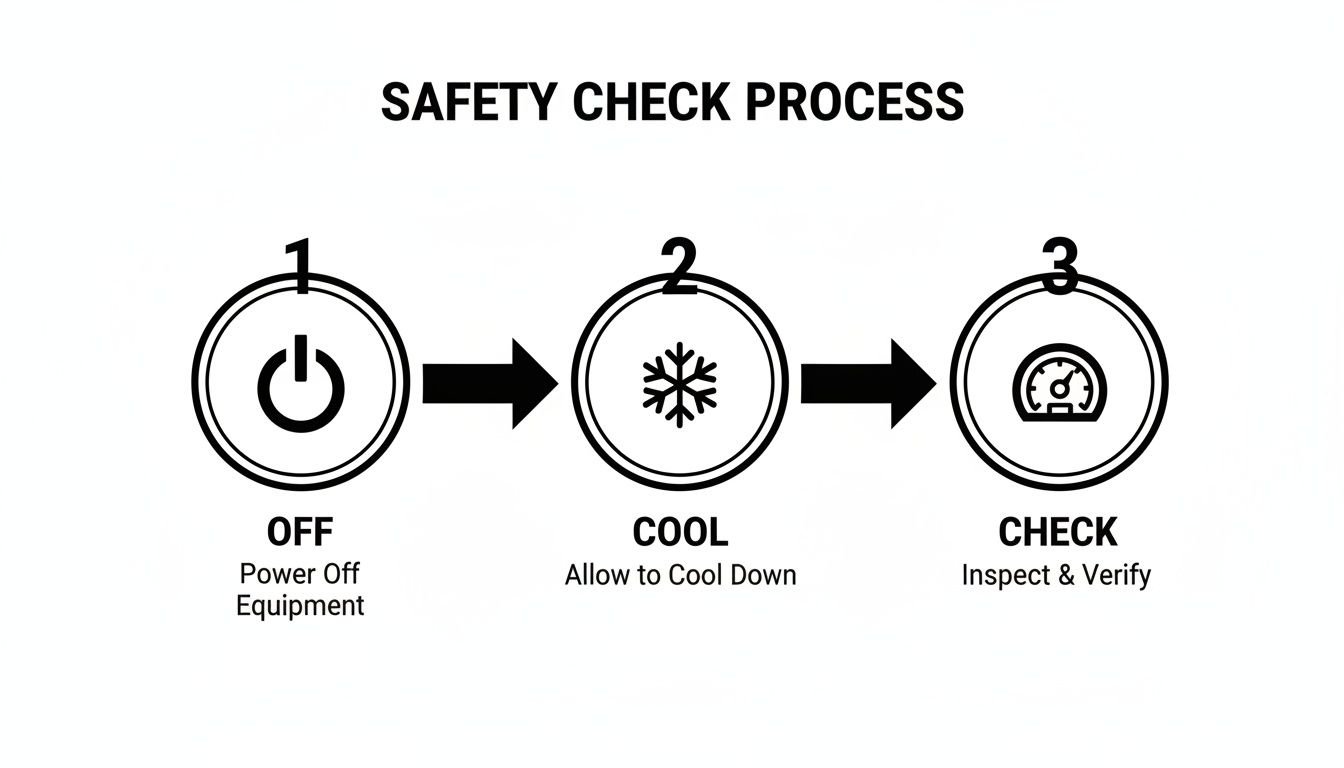
This process is non-negotiable: heating off, system completely cool, and a quick look at your boiler’s pressure gauge to know your starting point.
Releasing the Trapped Air
Drape an old cloth or rag over the valve and wall behind it, and have a small pot or jug ready underneath to catch any water. Now, fit your radiator key over the square pin.
Gently turn the key anti-clockwise. You only need to go about a quarter of a turn – don’t try to unscrew it all the way.
You should immediately hear a hissing noise. Perfect. That’s the trapped air escaping, which is exactly what we’re trying to achieve.
Keep the key steady and the cloth in place. The hissing could last for just a few seconds or up to a minute, all depending on how much air has built up inside.
A Pro Tip for Multi-Storey Homes: If you have radiators to bleed on different floors, always start downstairs. Work your way up through the house, finishing with the radiators on the top floor. Air naturally rises, so this method helps you systematically push it all up and out of the heating system for good.
Knowing When to Stop
The hissing sound is your only guide here. As soon as it stops and you see a steady trickle of water emerge, you're done. This signals that all the air is out and the radiator is now full of water.
The moment you see that water, turn the key back clockwise to tighten the valve. You don't need to wrench it tight; a firm but gentle nip is all that's needed to seal it properly. Use your cloth to wipe away any stray drips.
It’s a simple task, yet many people are hesitant to tackle it. In fact, a UK Radiators national poll found that only 57% of UK residents know how to bleed their radiators. This is despite 38% admitting that old, poorly maintained systems are far less efficient. That knowledge gap can be costly, as air buildup can slash a radiator's performance by as much as 20%.
Handling Different Radiator Types
While the process is almost always the same, you might come across a few different valve styles. Here’s what to look for:
- Standard Square Pin: The most common by far. It requires a standard radiator bleed key.
- Slotted Screw Valve: Often seen on newer or designer radiators. You’ll need a flat-head screwdriver for this one.
- Hexagonal Valve: Less common these days, but some older systems have a small hex nut which will need a spanner. Be extra careful with these as they can be delicate.
No matter the type, the method is identical: a slow turn anti-clockwise to open, and clockwise to close. The most important thing is to be gentle. If a valve feels completely seized and won't budge, don't try to force it. You risk shearing it off, which turns a small job into a much bigger, wetter problem. We'll cover what to do about stuck valves in the troubleshooting section.
Once you’ve bled your first radiator, you’ll realise how straightforward it is. You can now move on to any other cold radiators, repeating the same careful process each time.
Post-Bleed Checks and Repressurising Your Boiler
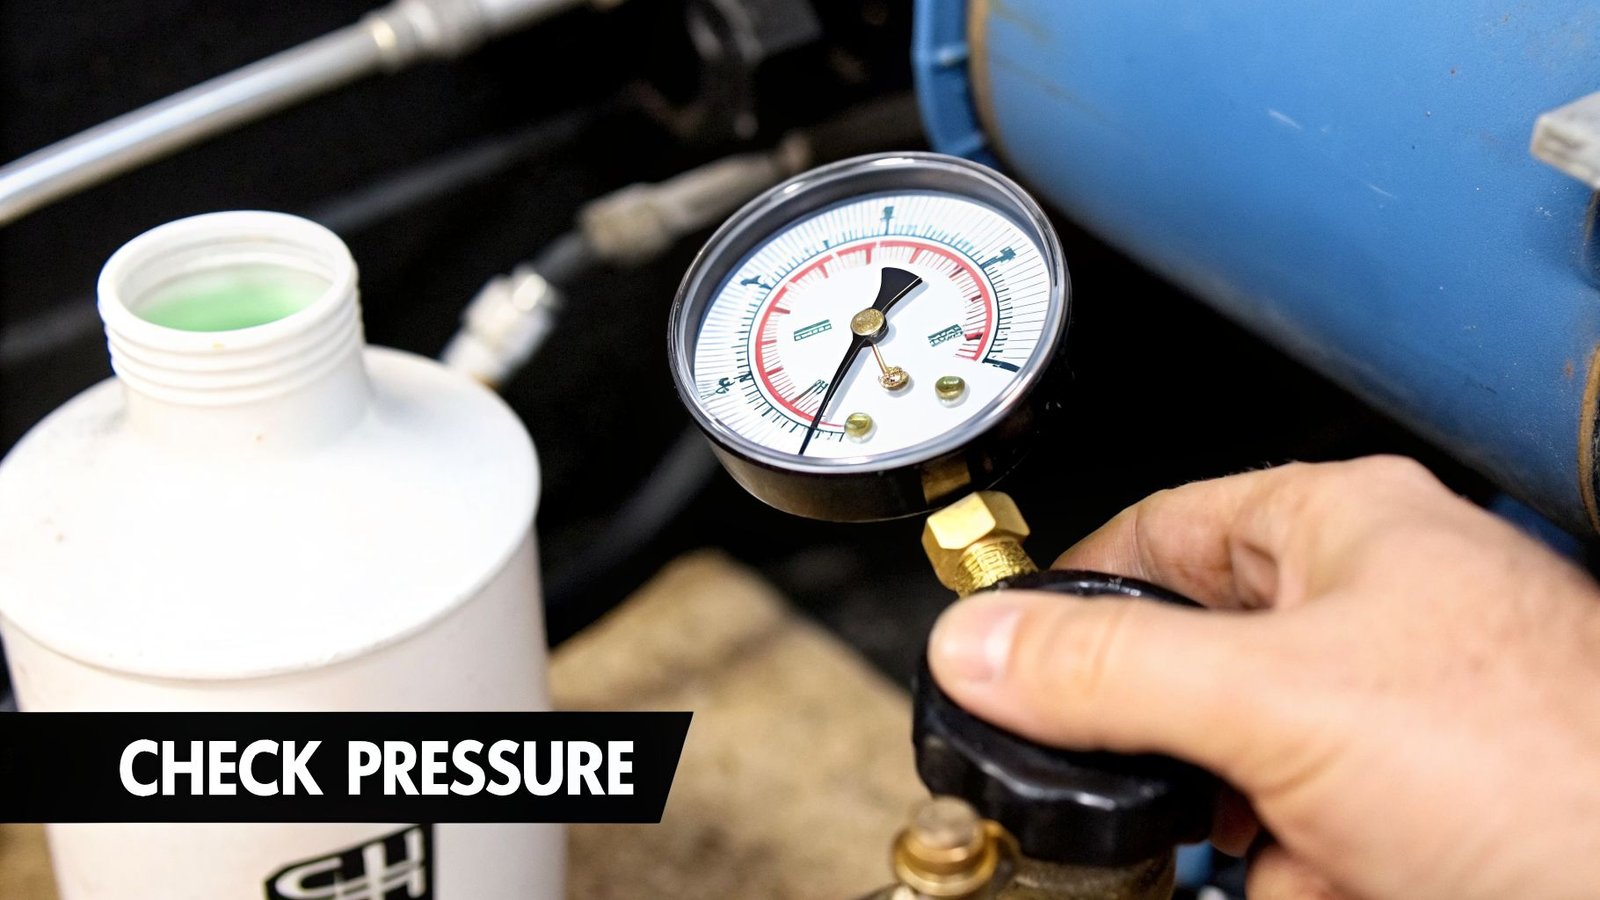
Right, you’ve wrestled with the bleed key and heard that satisfying hiss of trapped air escaping. The radiators are bled, but don't pack your tools away just yet. This next step is absolutely vital for making sure your heating system runs safely and efficiently.
Every time you bleed a radiator, you release a bit of air, but you also release a bit of water. This causes the pressure in the entire closed system to drop. It’s a completely normal part of the process, but you have to put that pressure back. If you don't, the boiler might cut out or just struggle to heat your home, completely undoing all your good work.
First things first, head over to your boiler and take a look at its pressure gauge.
Understanding Your Boiler Pressure Gauge
With the heating switched off, a healthy boiler will have a pressure reading somewhere between 1.0 and 1.5 bar. Most manufacturers make this easy by putting a green zone right on the dial. After you’ve bled a few radiators, you’ll almost certainly see that the needle has dropped, sometimes well below the 1.0 bar mark.
If the needle is in the red or below 1.0 bar, you’ll need to top it up. We call this repressurising the system, and it’s much simpler than it sounds.
Key Takeaway: Repressurising is a standard part of bleeding your radiators. All you're doing is letting a small amount of tap water back into the heating system to get the pressure back to where it needs to be.
How to Use the Filling Loop
For this job, you'll need the filling loop. It’s usually a silver, braided, flexible hose tucked away underneath your boiler, often with a small lever or tap-like valve on each end. Some newer boilers have a built-in key system, so if you can't see a hose, check your boiler’s manual.
While it's always best to consult your specific boiler's instructions, the process is generally the same:
- Find the Valves: Locate the two small valves connected to the filling loop.
- Open and Listen: Open one of the valves fully, then very slowly begin to open the second. You should hear the sound of water rushing into the system.
- Watch the Gauge: This is the important part. Keep your eyes glued to that pressure gauge. The needle will start to creep up.
- Close Firmly: As soon as the needle hits the middle of the green zone—around 1.5 bar is perfect—snap both valves shut firmly, one after the other. It can happen surprisingly fast, so be ready to act!
Be careful not to let the pressure go too high. If you find yourself having to top up the pressure every few weeks, there might be a leak somewhere in the system. Our guide on why your boiler might be losing pressure can help you troubleshoot the common causes.
The Final Checks for Peace of Mind
Once the pressure is back in the green, there are just two last things to do.
First, do a quick tour of all the radiators you bled. Run a finger underneath the bleed valve on each one. You're checking for any tiny drips. Even a very slow leak will cause the pressure to drop again over time and could lead to water damage.
Now for the moment of truth. Go ahead and turn your central heating back on. Give the system time to get up to full temperature, then go feel those radiators. They should now be lovely and hot from top to bottom. Job done.
What to Do When It Goes Wrong, and When to Call a Pro
So, you've bled the radiators, but something still isn't right. Maybe one is still giving you the cold shoulder, or a new problem has popped up that wasn't in the plan. Don't panic. Most of these little hitches are common and have a simple fix.
The real skill, though, is knowing when to step back. A simple DIY job can sometimes uncover a deeper issue, and recognising that limit is key to avoiding a much bigger, wetter, and more expensive problem.
My Radiator Is Still Cold After Bleeding
If the top of the radiator is still cold, chances are there's still a bit of air trapped in there. It can be stubborn. Give it another go, but this time, get your ear close and listen intently for the hiss to stop completely before you see a steady dribble of water.
What if the opposite happens? The top is now toasty warm, but the bottom is cold. This isn't an air problem anymore. You're almost certainly looking at a build-up of what we call sludge. It’s a nasty mix of rust and dirt that settles at the bottom of the radiator over the years, forming a thick barrier that stops water from circulating properly.
Expert Diagnosis: Bleeding a radiator only gets rid of trapped air. Sludge is a physical blockage. Getting rid of it requires a professional power flush – definitely a job for a Gas Safe registered engineer.
The Bleed Valve Is Stuck or Won't Turn
You put the key on the valve, give it a turn, and… nothing. It’s seized solid.
Whatever you do, do not force it. Grabbing a pair of pliers and trying to wrench it open is a recipe for disaster. I’ve seen people shear the pin right off, which turns a small job into an emergency call-out for a gushing leak.
First, try a few gentle taps on the side of the valve with the handle of a screwdriver. Sometimes that little vibration is enough to break it free. If not, a quick spray of a penetrating oil (like WD-40) left to soak for 10-15 minutes can work wonders on corrosion. If it still refuses to budge after that, it's time to admit defeat. An engineer can replace the valve without flooding your floor.
What the Colour of the Water Tells You
The water that comes out when you bleed a radiator can give you some big clues about the health of your heating system.
- Clear water: Perfect! That's the sign of a clean and healthy system.
- Dark or black water: This is pretty normal. It just shows there’s some iron oxide (rust from the inside of your radiators) circulating. Nothing to worry about unless it's very thick.
- Thick, black sludge: This is the confirmation you have a significant sludge problem, as mentioned above. Your system is crying out for a professional clean.
It’s a bit worrying, but a survey highlighted by UK Radiators found that only 25% of UK households get their heating system serviced annually, even though 29% check their boiler pressure. This sort of neglect is exactly why sludge builds up, crippling efficiency in many of Britain's 23 million gas boiler homes.
When to Call a Gas Safe Engineer
Bleeding radiators is a fantastic bit of home maintenance to master, but some problems are clear signals to call in the professionals. Get on the phone with a trusted company like Urbanic Services Ltd if you notice any of these red flags:
- You've bled the radiators, but cold spots won't go away (this points straight back to sludge).
- A bleed valve is leaking, won't close properly, or is clearly damaged.
- You have to bleed your radiators every few weeks (this often means there's a leak somewhere in the system).
- Your boiler pressure keeps dropping, even after you've topped it up.
Trying to tackle these issues yourself can easily make things worse and could even be unsafe. A qualified engineer has the tools and experience to find the root of the problem and get your heating running safely and efficiently again.
Your Radiator Bleeding Questions, Answered
Getting the hang of bleeding a radiator is one of the more straightforward home maintenance jobs, but even the simplest tasks can throw up a few questions. We've been there. Here are the answers to the queries we hear most often from homeowners just like you.
How Often Should I Bleed My Radiators?
There's no strict timetable for this. A great habit to get into is bleeding them once a year, just before the cold weather really sets in. Think of it as part of an autumn check-up for your heating.
Otherwise, you only need to reach for the radiator key when you spot the classic signs of trapped air – those tell-tale gurgling sounds, or a radiator that’s hot at the bottom but stubbornly cold at the top. If you're having to bleed them every few weeks, that’s a red flag. It almost always points to a bigger problem, like a leak somewhere in the system that's letting air get in.
Do I Have to Bleed All the Radiators at Once?
Not at all. You only need to focus on the specific radiators that are actually causing you trouble.
That being said, if you find that two or three are playing up, it's far more efficient to just do the lot in one go. If you do, a good pro tip is to start with the radiator on the lowest floor of your house that's furthest from the boiler, and then work your way up.
A Crucial Reminder: Bleeding radiators releases air, which inevitably causes the pressure in your whole system to drop. You absolutely must check your boiler's pressure gauge afterwards and top it up if needed. Forgetting this step can leave your heating struggling to work properly.
Why Is the Water From My Radiator Black?
First off, don't panic! Seeing black or sludgy grey water is incredibly common. It’s simply the result of years of natural corrosion inside your metal radiators and pipes, creating a fine black dust (mostly iron oxide) that mixes with the water.
A little discoloured water is perfectly normal. However, if what comes out is a thick, oily sludge, that’s a different story. This "sludge" is a sign of a much heavier build-up that can seriously harm your system's efficiency, and it's time to call in a professional for a system power flush.
If you're dealing with issues that just won't go away—like radiators that refuse to heat up, persistent leaks, or boiler pressure that keeps dropping—it's time to get an expert opinion. For reliable and professional heating support in London, the team at Urbanic Services Ltd can diagnose the problem and get your system running safely again. You can learn more about our services at https://urbanicservice.co.uk.