
Do you find yourself constantly fiddling with the thermostat because some rooms are sweltering while others feel stubbornly cold? This is a classic sign that your radiators need balancing. It’s a simple process of adjusting the water flow to each radiator, making sure they all heat up evenly and at the same rate. This is one of those surprisingly simple jobs that makes a huge difference to your home's comfort and your heating bills.
Getting Your Home's Heat Distribution Just Right
If you have an unbalanced central heating system, you’re not just living with annoying hot and cold spots—you’re almost certainly wasting energy and money. The problem is that your boiler is working overtime, trying to force hot water to the coldest radiators at the far end of the house. Meanwhile, the rooms closest to the boiler are getting far too hot, far too quickly.
Before you assume a cold radiator is faulty and start looking for a replacement, it’s always worth checking if balancing is the real issue. Think of it as essential maintenance that fine-tunes the entire network of pipes and radiators connected to your boiler.
So, What Exactly Is Radiator Balancing?
Put simply, balancing is all about regulating the hot water flow from your boiler. I often tell people to think of their heating system as a river. The radiators closest to the boiler are on the main, powerful current—they get a huge rush of hot water first. This leaves a much weaker flow for the radiators further "downstream".
By making small adjustments to a specific valve on each radiator, you're essentially adding small dams and diversions to manage that flow. This ensures every single radiator gets a fair share of the hot water, allowing them all to heat up at a similar, steady pace.
Don't think of balancing as just a quick fix. It's a foundational step for an efficient system. An unbalanced system forces your boiler to run for longer to heat up those cold spots, which is a pure waste of energy. Balancing tackles this problem head-on by creating even heat distribution.
Is This a Job for Your Home?
This isn’t just a task for old houses with ancient heating systems. Whether you have a traditional gas boiler, a modern combi boiler, or even a newer low-temperature system with a heat pump, balancing is crucial. Any home can benefit, especially if you're noticing:
- Hot and Cold Rooms: The classic sign—the living room is tropical, but the spare bedroom feels like a fridge.
- Radiators Heating Up Slowly: Some radiators take an eternity to get warm after the heating kicks in, while others are hot in minutes.
- Noisy Pipes: Gurgling or banging sounds can often point to problems with water flow that balancing can help resolve.
Learning how to balance your own radiators is one of the most cost-effective things you can do to improve your home's comfort and chip away at your energy bills. It’s all about making sure the heat you’re paying for actually goes where it's needed most.
Why Balanced Radiators Are a Game-Changer
Before you start fiddling with valves, it’s fair to ask: is this really worth the effort? Absolutely. Beyond just fixing that one perpetually chilly bedroom, balancing your radiators is one of the smartest DIY jobs you can do for your home's comfort and your wallet.
An unbalanced system is a wasteful one. It's a bit like having a traffic jam in your heating pipes. Your boiler has to work overtime, running for longer and burning more fuel just to shove hot water towards the radiators furthest away. This constant strain not only puts extra wear and tear on your boiler but also sends your energy bills climbing.
By getting the hot water distributed evenly, you finally get rid of those frustrating cold spots. In fact, many people find they can turn their main thermostat down by a degree or two and not even notice the difference in comfort. The heat is simply being used much more effectively.
The Real-World Impact on Your Bills
With energy prices a constant worry for most of us in the UK, any improvement in efficiency is a big win. Learning how to balance your radiators is a powerful way to cut costs because it stops you from wasting heat right at the source.
And this isn't just a vague theory—the savings are real and have been proven. In the UK, where around 80% of homes rely on a boiler and radiators, proper balancing is crucial. Independent tests, commissioned by BEAMA and conducted by the University of Salford, showed that installing and correctly setting Thermostatic Radiator Valves (TRVs) within a balanced system can slash heating costs by an average of 18%.
For a typical semi-detached house with an annual heating bill of £1,200, that’s a potential saving of £216 every single year. You can dig into the details yourself by checking out the BEAMA radiator balancing study on their website.
The fundamental problem is that without balancing, some radiators are always running at full tilt, whether the room needs it or not. They pump out excessive heat on milder days, creating stuffy, overheated rooms and just burning through your money.
More Than Just Savings
The benefits go far beyond what you see on your bank statement. A well-balanced system delivers a completely different level of comfort and control. Here’s what you can look forward to:
- Consistent Room Temperatures: No more huddling in the one warm room while the others feel like they've been forgotten.
- Faster Heat-Up Times: Your home gets up to the desired temperature much more quickly and evenly when you turn the heating on.
- Reduced Boiler Strain: A more efficient system is a less stressed system. This can play a big part in extending your boiler's lifespan.
- A Lower Carbon Footprint: It's simple—using less gas or oil means you're reducing your home's environmental impact.
Think of it as fine-tuning the heating system you've already paid for. Balancing makes sure you get every bit of warmth and comfort you're entitled to. This is especially true when you pair a balanced system with smart controls, something we explore in our guide on professional thermostat installation. This straightforward task transforms your heating from an unpredictable beast into a reliable and efficient network.
Your Toolkit and Pre-Balancing Checklist
Right, before you touch a single valve, a bit of prep work will save you a world of headaches later. Think of it as laying the groundwork. Getting this part right is the difference between a frustrating afternoon and a job well done.
First things first, let’s get your tools together. You don’t need a van full of specialist gear, just a few key items. Having them to hand means you won't be scrambling around mid-job.
Assembling Your Tools
Chances are, you’ve got most of this stuff kicking about in a toolbox or kitchen drawer. If not, any DIY shop will have what you need.
- Radiator Bleed Key: That little square-headed key is non-negotiable for getting trapped air out.
- Adjustable Spanner or Lockshield Valve Adjuster: Most lockshield valves have a plastic cap hiding a small spindle. A small spanner is usually all you need to turn it.
- Digital Thermometer: You can do this by feel, but a thermometer gives you precise, undeniable numbers to work with. An infrared one is even better for taking quick, accurate readings from a distance.
- Cloth or Old Towel: An absolute must for catching drips and spills when you’re bleeding the radiators.
- Pen and Paper: Simple, but you’ll need it to jot down your measurements.
With your kit ready, it's time to get the heating system itself prepped. Don't be tempted to skip these checks—they solve the most common problems that often get mistaken for an unbalanced system.
Pre-Balancing System Checks
These two steps are crucial. They create a clean slate and ensure you're not trying to balance a system that has other, more fundamental issues.
Bleed Every Single Radiator
Trapped air is the number one culprit for cold patches, especially at the top of a radiator. Before you do anything else, you need to bleed every radiator in the house. Yes, even the ones that seem to be working perfectly.
Start by turning the heating off completely and letting the system cool right down.
Grab your bleed key and a cloth. At the top corner of the radiator, slowly turn the bleed valve anti-clockwise. You'll hear a hiss as the air escapes. Keep a cloth handy to catch any water, and as soon as you get a steady dribble, tighten the valve back up.
Don’t just bleed the 'problem' radiators. Air moves around and can get trapped anywhere. Bleeding them all is the only way to be sure the water can circulate properly. Honestly, this step alone often fixes minor heating issues.
Check Your Boiler Pressure
Bleeding radiators releases air, which in turn can cause the system's pressure to drop. So, your next job is to check the pressure gauge on your boiler. It’s usually a dial on the front with a green "safe" zone.
For most modern combi boilers, you're looking for a pressure reading between 1.0 and 1.5 bar when the heating is cold. If it's dropped below this, you’ll need to top it up.
You'll do this using the filling loop—a small, silver-braided hose, typically found underneath the boiler. Every boiler is slightly different, so have a quick look at your boiler’s manual for the exact instructions. Getting the pressure right is fundamental for a healthy, efficient heating system.
A Practical Guide to Balancing Your Radiators
Alright, with your tools laid out and the system properly bled and pressurised, we can get down to the real business. This is where we'll teach your central heating how to distribute warmth evenly, so every room feels just right. It’s a bit of a methodical process, but believe me, the difference you'll feel in comfort and see on your energy bills is well worth the effort.
First thing’s first: turn your central heating off completely. We need every single radiator stone-cold before we start. This gives us a clean slate, making it obvious which radiators are hogging all the hot water when we fire the system back up.
Opening the Gates
Once everything is cold, go to every radiator in your house. You're going to fully open both valves to reset the system.
- On the valve with the numbers, the thermostatic radiator valve (TRV), turn the head all the way anti-clockwise to its highest setting.
- On the other side, you'll find the lockshield valve. Pop off the plastic cap and use your spanner to turn this valve fully anti-clockwise too.
Doing this removes every restriction. It’s like opening all the floodgates at once. When you turn the heating back on, the hot water will race through the path of least resistance, showing you exactly which radiators are winning the sprint and which are being left in the cold.
Finding Your Starting Order
Now, switch the heating on. Take a walk around your home and get a feel for which radiators warm up first. It's almost guaranteed the ones closest to the boiler will get hot in no time, while the ones upstairs or at the far end of the house will be much slower.
Jot down a quick list, numbering the radiators in the order they heat up. The fastest is #1, the next is #2, and so on. This list is your roadmap for the whole job.
Once you have your order, turn the heating off again and let all the radiators cool down completely. Yes, it feels like a lot of waiting around, but patience here really is a virtue.
Before you dive in, just a quick reminder of the prep work that makes all the difference.
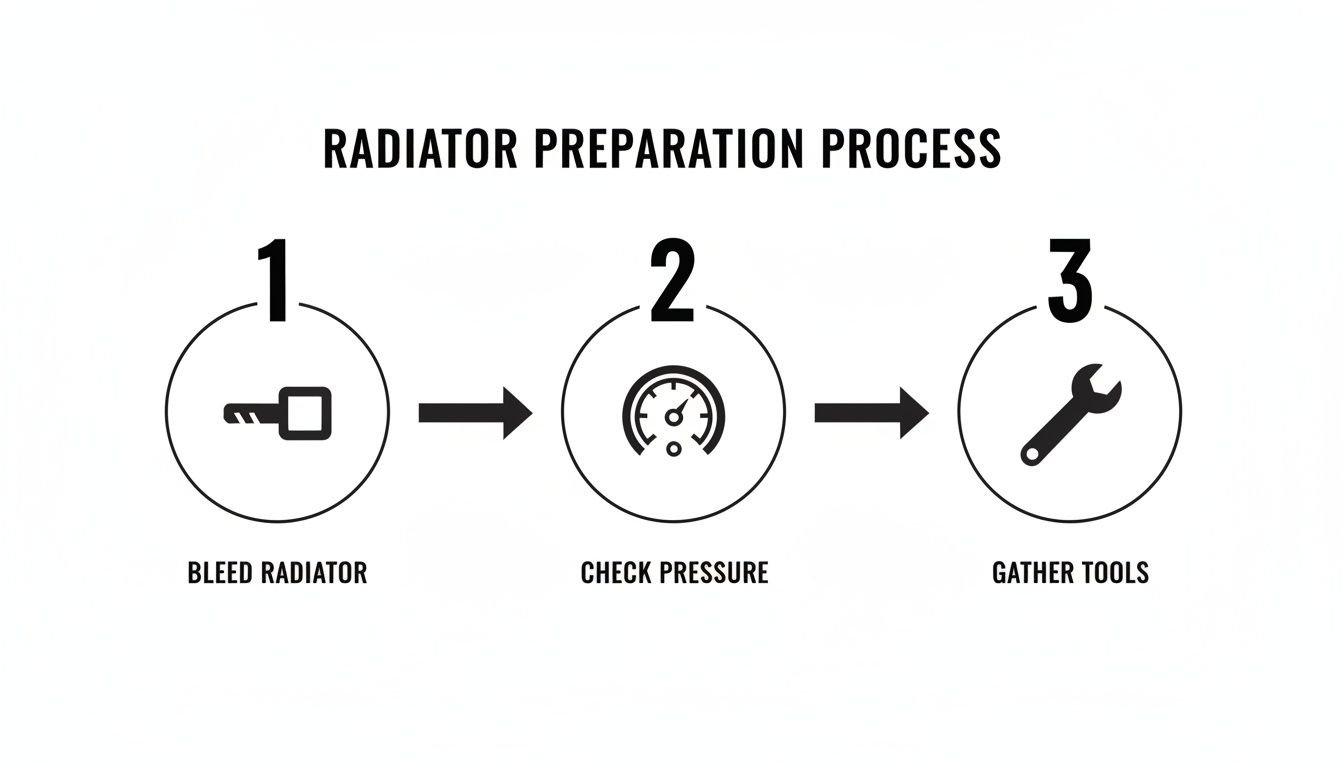
Getting these three things right—bleeding, pressure, and tools—sets you up for a smooth and successful balancing job.
Making the First Adjustments
With the system cold again, turn the heating back on and head to radiator #1 on your list—the one that heated up the fastest. This one is getting far too much hot water, so we need to restrict its flow quite heavily.
Turn its lockshield valve fully clockwise to shut it off completely. Then, open it back up by just a quarter of a turn. That’s it. It’s a tiny opening, but it's often all that's needed for the radiators closest to the boiler.
The table below gives you some good starting points.
Recommended Lockshield Valve Settings by Radiator Position
This table provides a helpful guide for your initial lockshield adjustments based on how far a radiator is from the boiler. Think of these as a baseline; you'll refine them later with temperature readings.
| Radiator Order (From Boiler) | Initial Lockshield Valve Opening | Objective |
|---|---|---|
| First Radiator (Hottest) | Close fully, then open 1/4 turn | Severely restrict flow to the nearest radiator. |
| Middle Radiators | Close fully, then open 1/2 to 3/4 turn (increasingly more) | Provide a moderate flow. |
| Last Radiator (Coldest) | Leave fully open or close and reopen almost all the way. | Ensure maximum flow to the radiator furthest away. |
Remember, the goal is to create more resistance for the radiators closest to the boiler, forcing the hot water to travel further into the system to find an easier path.
Pro Tip: Once you’ve dialled in the perfect setting for a lockshield valve, grab a permanent marker and make a small dot on the valve body and another on the spindle. This simple trick creates a visual guide. If the valve ever gets knocked during decorating or cleaning, you can reset it in seconds without having to re-balance the entire system from scratch.
Fine-Tuning with Temperature
After those initial tweaks, it’s time to get precise. This is where your digital thermometer comes in. You're going to measure the temperature difference between the pipe going into the radiator (at the TRV) and the pipe coming out (at the lockshield).
For a perfectly balanced radiator, you're aiming for a temperature drop of about 12°C.
- If the drop is less than 12°C, the water is flowing through too quickly. Close the lockshield valve a tiny bit to slow it down.
- If the drop is more than 12°C, the water is moving too slowly and getting too cool. Open the lockshield valve a fraction to speed it up.
Make a very small adjustment, give it 10-15 minutes for the system to react, and measure again. This back-and-forth is the most time-consuming part, but it’s what separates a "good enough" job from a truly optimised system.
While a brand-new radiator should perform well, our experience with professional radiator installation has shown us time and again that proper balancing is the final, critical step that unlocks its true efficiency within your home's unique layout.
Troubleshooting Common Radiator Issues
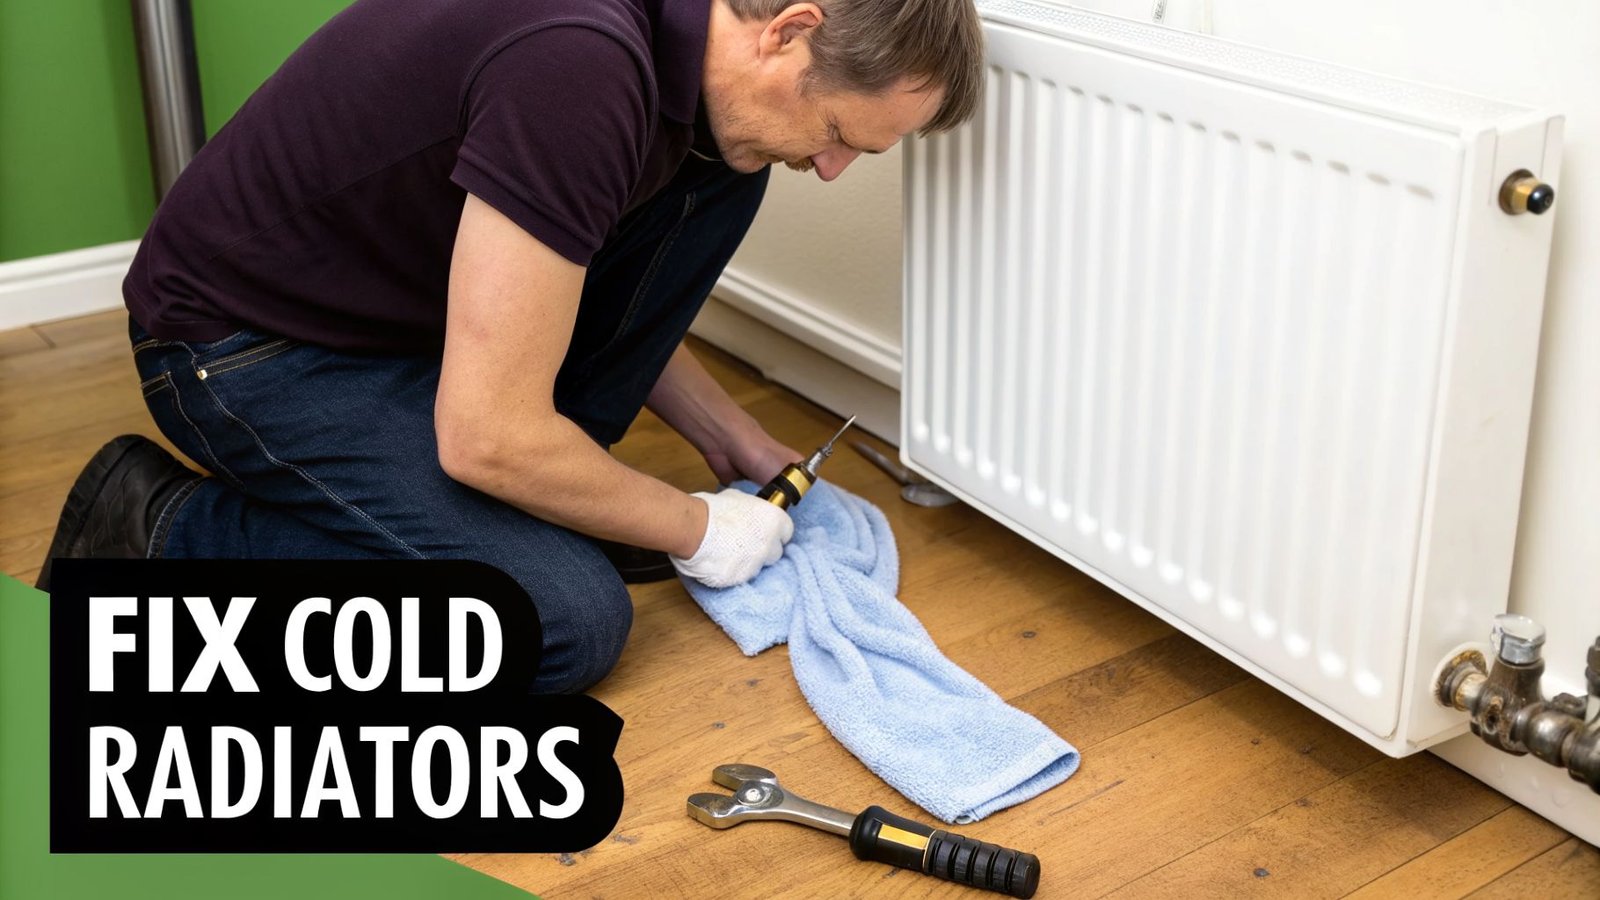
So, you’ve followed all the steps, but something’s still not right. Perhaps one radiator remains stubbornly cold, or maybe the whole system just feels a bit lukewarm. Don’t panic. This usually just means there's an underlying issue that's getting in the way, and most of the time, it's something you can sort out yourself.
Let's look at the most common culprit for a single cold radiator, particularly if it’s cold at the bottom: sludge. It sounds unpleasant, and it is. Over the years, rust and other bits of debris build up inside your heating system, eventually settling at the bottom of your radiators. This creates a thick, muddy blockage that stops hot water from circulating properly, no matter how much you fiddle with the valves.
Another frequent problem is a stuck pin on the Thermostatic Radiator Valve (TRV). If a radiator has been switched off for a while (like over the summer), the tiny pin inside the valve can seize up. When this happens, turning the TRV head to its highest setting does nothing because the valve is physically stuck shut, blocking the water flow.
Diagnosing a Stuck TRV Pin
If you think a stuck pin is the issue, the good news is that it’s often a very simple fix. Here’s how you can check and free it up:
- First, you'll need to get the plastic TRV head off. They usually unscrew by hand, but some might have a small screw or clip holding them in place.
- Once the head is off, you’ll see a small metal pin sticking up from the centre of the valve body.
- Give the pin a gentle push downwards with the end of a spoon handle or a small pair of pliers. It should move down a few millimetres and then spring back up on its own.
- If it’s stuck, don’t force it too hard. A few gentle taps from side to side are often enough to loosen it. A little squirt of WD-40 can also work wonders here.
Once the pin is moving freely again, just screw the TRV head back on. You’ll be surprised how often this simple check brings a cold radiator roaring back to life.
When to Suspect System-Wide Problems
What if it's not just one radiator? If all your radiators are only getting lukewarm or the system is taking forever to heat the house, the problem might be bigger. The first thing to do is go back and check your boiler pressure. Bleeding air from several radiators can cause the system pressure to drop, and if it's too low, your boiler won't be able to push hot water effectively around the entire circuit. If you suspect this is the case, our guide on common causes of boiler pressure loss can walk you through the diagnosis.
A heavy build-up of sludge can cut a radiator's heat output by up to 30%. This makes your boiler work much harder, potentially dropping its efficiency from over 90% down to 75%—a drop you will definitely feel in your energy bills.
In fact, sludge and poor balancing are two of the biggest energy wasters in a central heating system. Research from The Heating Hub shows that a properly balanced system can increase efficiency by 10-15%. You can discover more insights about auto-balancing on The Heating Hub. If your system is badly clogged with sludge, the only real long-term fix is often a professional powerflush to properly clear out the pipes and restore flow.
Your Radiator Balancing Questions, Answered
Even with the best guide in hand, it’s normal to have a few questions before you start fiddling with your radiator valves. Getting this right is straightforward, but a little extra insight can make all the difference. Let’s tackle some of the most common queries we get from homeowners.
How Long Does Radiator Balancing Actually Take?
This is one of those jobs where patience is key. While the hands-on time spent turning valves is minimal, most of your time will be spent waiting for the heating system to cool down and heat back up again. For an average three-bedroom house, you should probably block out a good 2 to 4 hours to see it through properly.
Seriously, don't rush it. Letting the water temperature stabilise after each tiny adjustment is the only way you'll get accurate readings and a system that feels right in every room.
Think of it less like a race and more like tuning a guitar. You make a small tweak, listen to the result, and adjust again. It’s this slow, methodical approach that gets you the perfect harmony of heat throughout your home.
How Often Should I Balance My Radiators?
Thankfully, this isn't an annual chore. A good rule of thumb is to check and re-balance your radiators every 2-3 years. You'll know it's time when you start noticing the old problems creeping back in—like the living room getting tropical while the bedroom stays chilly.
It's also essential to re-balance after any big changes to your heating system. This includes things like:
- Having a new boiler installed
- Adding a new radiator or replacing an old one
- Draining the system for repairs or even just for decorating
Any of these will disrupt the water flow, so a full re-balance is the only way to get everything working efficiently again.
Can I Really Balance Radiators Myself?
Absolutely. This is a fantastic DIY job for any homeowner with a bit of patience. You don’t need to be a plumbing expert—just a few simple tools and a willingness to follow the steps methodically. The most important thing is to be systematic: bleed first, check the pressure, and then adjust the lockshield valves in the right order, starting with the radiator closest to the boiler.
However, if you've gone through the whole process and you still have cold spots or lukewarm radiators, it might be a sign of a bigger problem. Things like a thick build-up of sludge in the system or a failing pump aren't fixed by balancing. That's your cue to call in a professional to diagnose the real issue.
If you've tried balancing your radiators and the heating still isn't right, the expert team at Urbanic Services Ltd can help. From powerflushing to advanced heating diagnostics, we'll get your London home's system running efficiently and reliably. Get in touch for a no-obligation quote.